How to install a temperature indicator?
Leave a message
Installing a temperature indicator is a crucial process that requires careful planning and execution. As a temperature indicator supplier, I understand the importance of providing clear and concise guidance to our customers. In this blog post, I will walk you through the step-by-step process of installing a temperature indicator, ensuring that you can do it safely and effectively.
Step 1: Gather the Necessary Tools and Materials
Before you begin the installation process, it's essential to gather all the tools and materials you'll need. Here's a list of items you should have on hand:
- Temperature indicator
- Mounting hardware (screws, brackets, etc.)
- Electrical wiring (if required)
- Wire strippers
- Screwdriver
- Drill (if necessary)
- Level
- Safety glasses
- Gloves
Step 2: Choose the Right Location
Selecting the appropriate location for your temperature indicator is critical. It should be placed in an area where it can accurately measure the temperature you want to monitor. Consider the following factors when choosing a location:
- Proximity to the heat source or area of interest
- Avoidance of direct sunlight, drafts, and other sources of interference
- Accessibility for maintenance and calibration
- Safety from physical damage
Step 3: Prepare the Mounting Surface
Once you've chosen the location, prepare the mounting surface. Clean the area to ensure a secure and stable installation. If you're mounting the temperature indicator on a wall, use a level to ensure it's straight. If you're using brackets, mark the holes and drill them according to the manufacturer's instructions.
Step 4: Mount the Temperature Indicator
Using the mounting hardware, attach the temperature indicator to the prepared surface. Make sure it's securely fastened and level. If you're using electrical wiring, follow the manufacturer's instructions to connect the wires properly. Use wire strippers to remove the insulation from the wires and connect them to the appropriate terminals on the indicator.
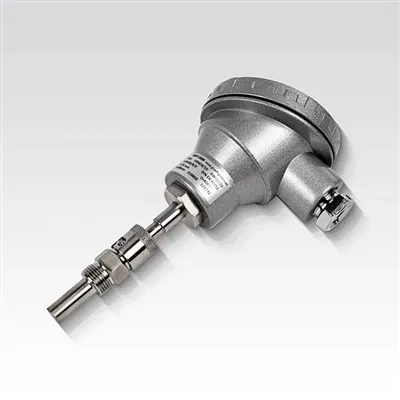
Step 5: Connect the Sensor
Most temperature indicators require a sensor to measure the temperature. Connect the sensor to the indicator according to the manufacturer's instructions. The sensor may be a thermocouple, RTD (Resistance Temperature Detector), or other type of temperature sensor. Make sure the connection is secure and that the sensor is placed in the appropriate location to measure the temperature accurately.


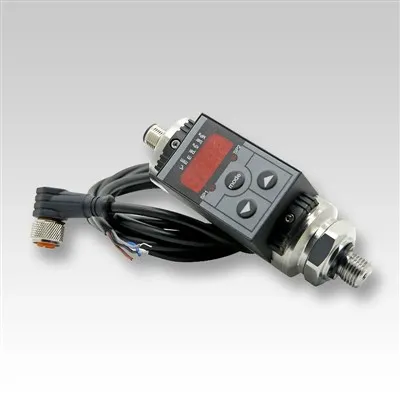
Step 6: Power On the Temperature Indicator
Once the temperature indicator and sensor are installed and connected, it's time to power on the indicator. Follow the manufacturer's instructions to turn on the power and set the appropriate parameters, such as the temperature range and units of measurement.
Step 7: Calibrate the Temperature Indicator
Calibration is an important step to ensure the accuracy of the temperature indicator. Most temperature indicators come with a calibration procedure in the user manual. Follow the instructions carefully to calibrate the indicator using a known reference temperature. This will help ensure that the readings are accurate and reliable.
Step 8: Test the Temperature Indicator
After calibration, test the temperature indicator to make sure it's working properly. Use a known temperature source, such as a calibrated thermometer, to compare the readings of the temperature indicator. If there are any discrepancies, adjust the calibration or check the connections to ensure everything is working correctly.
Step 9: Monitor and Maintain the Temperature Indicator
Once the temperature indicator is installed and working properly, it's important to monitor and maintain it regularly. Check the readings periodically to ensure they're within the expected range. Clean the indicator and sensor as needed to prevent dirt and debris from affecting the accuracy of the readings. If you notice any issues or abnormalities, contact the manufacturer or a qualified technician for assistance.
Additional Considerations
- Compatibility: Make sure the temperature indicator you choose is compatible with the type of sensor you're using and the application you're monitoring.
- Environmental Conditions: Consider the environmental conditions where the temperature indicator will be installed, such as temperature, humidity, and vibration. Choose an indicator that is suitable for these conditions.
- Safety: Always follow safety procedures when installing and using the temperature indicator. Wear appropriate safety gear, such as safety glasses and gloves, and follow all electrical safety guidelines.
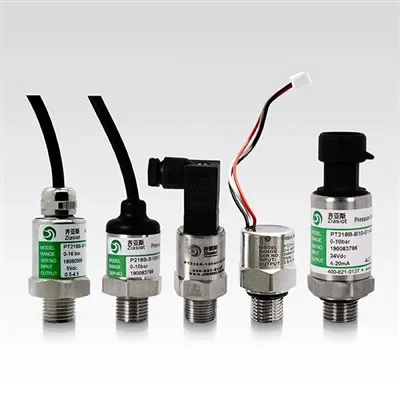
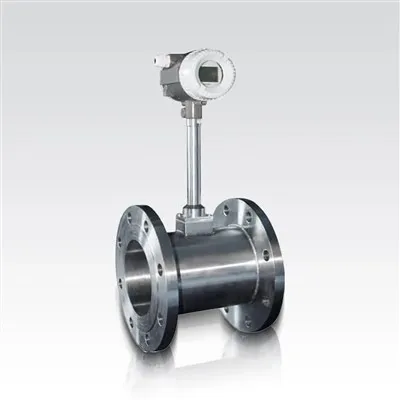
Related Products
In addition to temperature indicators, we also offer a range of other flow measurement products, including the LDG Electromagnetic Flowmeter, Turbine Flow Meter, and Vortex Flowmeter. These products are designed to provide accurate and reliable flow measurement in a variety of applications.
Conclusion
Installing a temperature indicator is a relatively straightforward process that can be completed by following these steps. By choosing the right location, preparing the mounting surface, and following the manufacturer's instructions, you can ensure a successful installation and accurate temperature measurement. If you have any questions or need further assistance, please don't hesitate to contact us. We're here to help you with all your temperature indicator and flow measurement needs.
References
- Manufacturer's user manuals for temperature indicators and sensors.
- Industry standards and guidelines for temperature measurement and installation.