
How to install a Compact Pressure Transmitter?
Leave a message

Hey there! As a supplier of Compact Pressure Transmitters, I'm stoked to share with you how to install one. Whether you're a seasoned pro or a newbie in the field, this guide will walk you through the process step by step.
Why Install a Compact Pressure Transmitter?
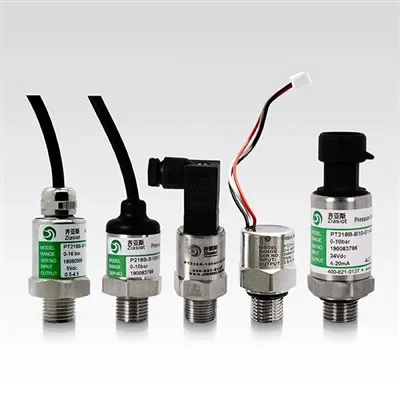
Before we jump into the installation process, let's quickly talk about why you might want to use a Compact Pressure Transmitter. These little devices are super handy in a variety of applications. They can accurately measure pressure in industrial settings, like monitoring the pressure in pipes, tanks, or hydraulic systems. They're also used in HVAC systems to ensure proper air and fluid pressure. Plus, their compact size makes them easy to fit into tight spaces where larger transmitters just won't work.
Tools You'll Need
First things first, gather the tools you'll need for the installation. Here's a basic list:
- A wrench or socket set: You'll need this to loosen and tighten the fittings. Make sure you have the right size for the transmitter and the mounting location.
- A screwdriver: Depending on the type of mounting, you might need a Phillips or flat - head screwdriver to secure the transmitter.
- A multimeter: This is essential for testing the electrical connections and ensuring the transmitter is working properly.
- Teflon tape: It helps to create a tight seal between the fittings and prevents leaks.
Step 1: Choose the Right Location
The location where you install your Compact Pressure Transmitter is crucial. You want to pick a spot that gives you an accurate reading of the pressure you're trying to measure.
- Avoid areas with high vibration. Vibration can cause inaccurate readings and even damage the transmitter over time.
- Make sure the location is accessible for maintenance. You don't want to install it in a place where it'll be a hassle to reach if you need to check or replace it later.
- Consider the temperature and humidity of the area. Extreme temperatures or high humidity can affect the performance of the transmitter.
Step 2: Prepare the Mounting Surface
Once you've chosen the location, you need to prepare the mounting surface.
- Clean the surface to remove any dirt, debris, or rust. A clean surface ensures a good seal and a stable mounting.
- If the surface is uneven, you might need to use a shim or level it out to make sure the transmitter sits flat.
Step 3: Install the Transmitter
Now it's time to install the transmitter.
- Wrap Teflon tape around the threads of the transmitter fitting. Make sure you wrap it in the right direction (clockwise) so it doesn't come loose when you tighten the fitting.
- Carefully thread the transmitter into the mounting location. Use your wrench or socket set to tighten it. Don't over - tighten, as this can damage the threads and cause leaks.
- If the transmitter has a bracket for mounting, use your screwdriver to attach it to the prepared surface. Make sure it's securely fastened.
Step 4: Make the Electrical Connections
After the transmitter is physically installed, it's time to make the electrical connections.
- First, turn off the power to the system you're working on. This is a safety precaution to avoid electric shock.
- Locate the electrical terminals on the transmitter. There are usually positive and negative terminals.
- Strip the ends of the wires that will connect to the transmitter. Make sure you strip enough wire to make a good connection.
- Connect the wires to the appropriate terminals. Use a multimeter to check the continuity of the connection. If there's no continuity, double - check your wiring.
Step 5: Test the Transmitter
Once the electrical connections are made, it's time to test the transmitter.
- Turn the power back on to the system.
- Use your multimeter to measure the output voltage or current of the transmitter. Compare the reading to the specifications provided by the manufacturer. If the reading is way off, there might be a problem with the installation or the transmitter itself.
- Check for any leaks around the fittings. If you see any signs of leakage, tighten the fittings a little more or add some more Teflon tape.
Different Types of Compact Pressure Transmitters
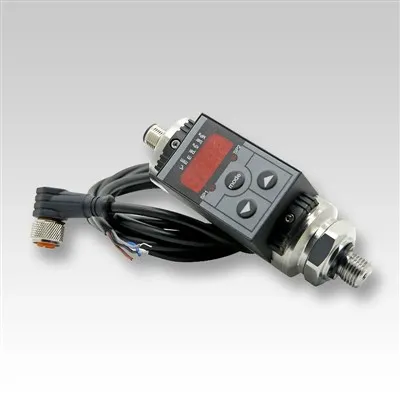
There are several types of Compact Pressure Transmitters, and the installation process might vary slightly depending on the type.
Flush Diaphragm Sillcon Pressure Transmitter
This type of transmitter is great for applications where you need to measure the pressure of viscous or dirty fluids. The flush diaphragm design prevents clogging and ensures accurate readings. When installing it, make sure the diaphragm is in direct contact with the fluid you're measuring.
Hydraulic Liquid Steam Pressure Transmitter Transducer
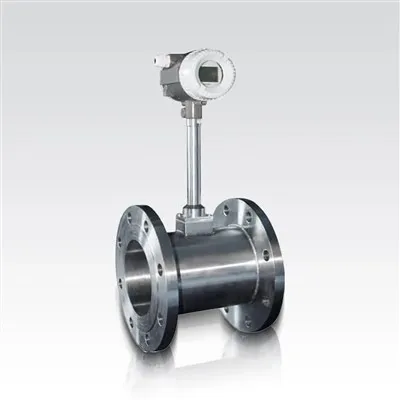
For hydraulic, liquid, or steam applications, this transmitter is a popular choice. When installing it, pay extra attention to the pressure rating and make sure it can handle the pressure of the system. Also, ensure that the connections are tight to prevent any fluid or steam leaks.
High Temperature Pressure Transmitter
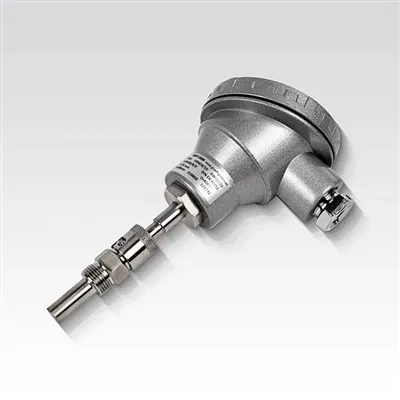
If you're dealing with high - temperature environments, this is the transmitter for you. When installing it, use heat - resistant materials for the connections and make sure the mounting location can withstand the high temperatures.
Troubleshooting Tips
Even if you follow the installation process carefully, you might run into some issues. Here are some common problems and how to fix them:


- Inaccurate readings: Check for loose electrical connections, vibration in the area, or a blocked diaphragm. Make sure the transmitter is properly calibrated.
- Leakage: Tighten the fittings or add more Teflon tape. If the leak persists, there might be a damaged fitting that needs to be replaced.
- No power: Check the power supply and the electrical connections. Make sure the circuit breaker hasn't tripped.
Conclusion
Installing a Compact Pressure Transmitter isn't too complicated if you follow these steps. Just take your time, choose the right location, make the proper connections, and test the transmitter thoroughly.
If you're in the market for a Compact Pressure Transmitter or have any questions about the installation process, don't hesitate to reach out. We're here to help you find the perfect solution for your pressure - measuring needs. Whether you need a Flush Diaphragm Sillcon Pressure Transmitter, a Hydraulic Liquid Steam Pressure Transmitter Transducer, or a High Temperature Pressure Transmitter, we've got you covered. Contact us today to start the procurement process and let's work together to get your pressure - measuring system up and running smoothly.
References
- Industrial Pressure Transmitter Installation Manuals
- Electrical Wiring and Testing Guides
- Manufacturer's Specifications for Compact Pressure Transmitters