How to install a Compact Pressure Transmitter in a hydraulic system?
Leave a message
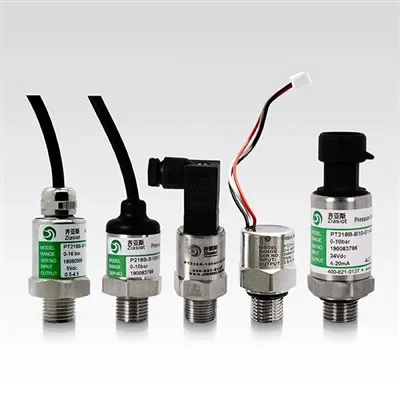
Installing a compact pressure transmitter in a hydraulic system is a task that requires careful planning, precision, and a good understanding of both the transmitter and the hydraulic system. As a supplier of compact pressure transmitters, I've witnessed firsthand the importance of a proper installation to ensure the reliable and accurate operation of the system. In this blog post, I'll guide you through the process of installing a compact pressure transmitter in a hydraulic system, step by step.
Step 1: Preparation
Before you start the installation process, it's crucial to gather all the necessary tools and materials. You'll need a wrench or socket set to remove and install fittings, Teflon tape or thread sealant to prevent leaks, a multimeter to test the electrical connections, and of course, the compact pressure transmitter itself. Make sure you have the correct size and type of fittings for your hydraulic system.
It's also important to review the manufacturer's installation instructions and specifications for the pressure transmitter. Different transmitters may have specific requirements regarding mounting orientation, electrical connections, and operating conditions. Familiarize yourself with these details to avoid any potential issues during the installation.
Step 2: Select the Installation Location
Choosing the right location for your compact pressure transmitter is essential for accurate pressure measurement. The ideal location should be free from excessive vibration, heat, and moisture, as these factors can affect the performance of the transmitter. Additionally, the location should provide easy access for maintenance and calibration.
In a hydraulic system, the pressure transmitter is typically installed in a pipeline or on a hydraulic component, such as a pump or valve. The installation point should be upstream of any restrictions or flow control devices to ensure that the pressure measurement is representative of the system pressure. Avoid installing the transmitter near bends, elbows, or other areas where the flow may be turbulent, as this can cause inaccurate readings.
Step 3: Prepare the Mounting Surface
Once you've selected the installation location, you'll need to prepare the mounting surface. The surface should be clean, flat, and free from any debris or contaminants. Use a wire brush or sandpaper to remove any rust, paint, or other coatings from the surface.
If the mounting surface is not perfectly flat, you may need to use a gasket or shim to ensure a proper seal. Make sure the gasket or shim is the correct size and material for your application. Apply a thin layer of thread sealant or Teflon tape to the threads of the mounting hole to prevent leaks.
Step 4: Install the Pressure Transmitter
Now it's time to install the compact pressure transmitter. Carefully insert the transmitter into the mounting hole and hand-tighten the fitting. Use a wrench or socket set to tighten the fitting to the recommended torque specification. Be careful not to over-tighten the fitting, as this can damage the transmitter or cause leaks.
Once the transmitter is securely installed, connect the electrical wires according to the manufacturer's instructions. Most compact pressure transmitters use a standard electrical connector, such as a DIN or M12 connector. Make sure the electrical connections are tight and free from any loose wires or corrosion.
Step 5: Test the Installation
After the pressure transmitter is installed and the electrical connections are made, it's important to test the installation to ensure that it's working properly. Use a multimeter to measure the output signal of the transmitter. The output signal should be within the specified range for the transmitter.
If the output signal is not within the specified range, check the electrical connections and the installation orientation of the transmitter. Make sure the transmitter is properly calibrated and that the system pressure is within the operating range of the transmitter. If you're still having issues, consult the manufacturer's troubleshooting guide or contact their technical support team for assistance.
Step 6: Calibrate the Pressure Transmitter
Once the installation is tested and working properly, it's recommended to calibrate the pressure transmitter to ensure accurate pressure measurement. Calibration involves comparing the output signal of the transmitter to a known pressure reference and adjusting the transmitter to match the reference.
Calibration should be performed regularly to maintain the accuracy of the pressure measurement. The frequency of calibration depends on the application and the manufacturer's recommendations. Some transmitters may require calibration as often as once a month, while others may only need to be calibrated once a year.
Step 7: Monitor and Maintain the Pressure Transmitter
After the installation and calibration are complete, it's important to monitor and maintain the pressure transmitter to ensure its continued performance. Regularly check the output signal of the transmitter to ensure that it's within the specified range. If the output signal changes significantly, it may indicate a problem with the transmitter or the hydraulic system.
In addition to monitoring the output signal, it's also important to inspect the transmitter for any signs of damage or wear. Check the electrical connections for any loose wires or corrosion, and inspect the mounting hardware for any signs of loosening or damage. If you notice any issues, take appropriate action to repair or replace the transmitter as needed.
![]()

Conclusion
Installing a compact pressure transmitter in a hydraulic system is a relatively straightforward process, but it requires careful planning and attention to detail. By following the steps outlined in this blog post, you can ensure that your pressure transmitter is installed correctly and operating reliably.
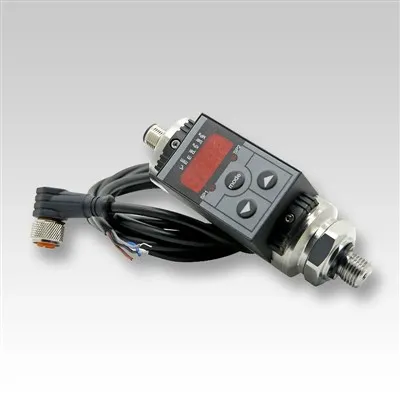
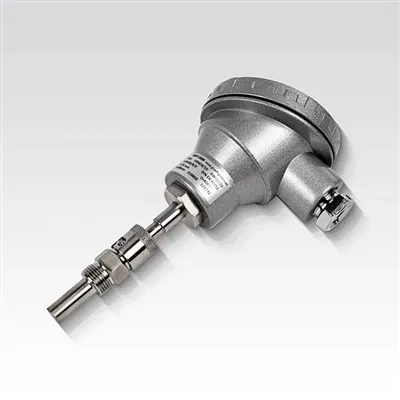
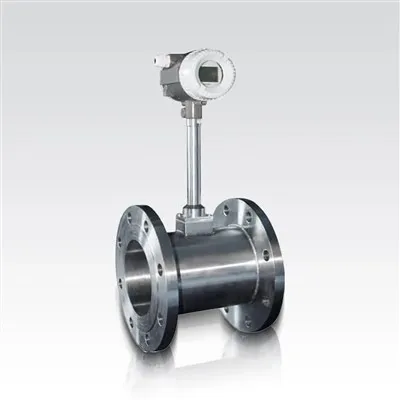
As a supplier of compact pressure transmitters, we offer a wide range of products to meet the needs of various hydraulic applications. Our Hydraulic Liquid Steam Pressure Transmitter Transducer is designed for use in hydraulic systems, providing accurate and reliable pressure measurement. We also offer Absolute Pressure Transmitter and High Temperature Digital Pressure Transducer Transmitter for more specialized applications.
If you have any questions about our products or need assistance with the installation of a compact pressure transmitter, please don't hesitate to contact us. We're here to help you find the right solution for your hydraulic system.
References
- Manufacturer's installation instructions and specifications for compact pressure transmitters.
- Hydraulic system design and installation guidelines.
- Industry standards and best practices for pressure measurement and control.