
How to adjust the sensitivity of a Homogenizer Pressure Gauge?
Leave a message

Adjusting the sensitivity of a homogenizer pressure gauge is a crucial process that can significantly affect the performance and accuracy of your homogenization equipment. As a leading supplier of homogenizer pressure gauges, we understand the importance of this adjustment and are here to provide you with a comprehensive guide on how to do it effectively.
Understanding the Importance of Sensitivity Adjustment
The sensitivity of a pressure gauge refers to its ability to detect and measure small changes in pressure. In a homogenizer, accurate pressure measurement is essential for achieving consistent results in the homogenization process. A properly adjusted pressure gauge ensures that the pressure applied to the sample is within the desired range, which is critical for breaking down particles, emulsifying liquids, and achieving the desired level of homogenization.
If the pressure gauge is not sensitive enough, it may not detect small changes in pressure, leading to inaccurate readings and inconsistent homogenization results. On the other hand, if the gauge is too sensitive, it may be prone to false readings and fluctuations, which can also affect the quality of the homogenized product. Therefore, finding the right balance of sensitivity is key to optimizing the performance of your homogenizer.
Types of Homogenizer Pressure Gauges
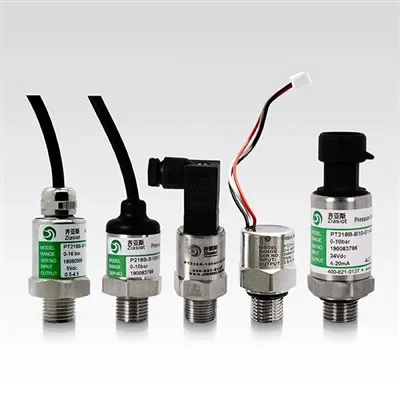
Before we dive into the adjustment process, it's important to understand the different types of homogenizer pressure gauges available. At our company, we offer a wide range of pressure gauges to meet the diverse needs of our customers. Here are some of the common types:
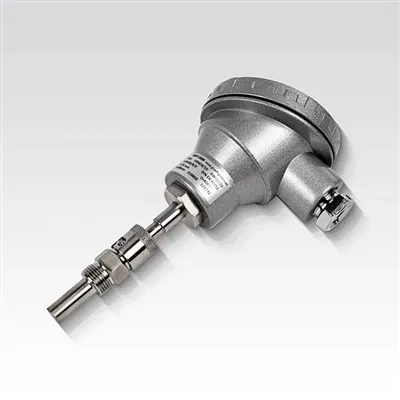
- High Temperature Mechanical Melt Presssure Gauges: These gauges are designed to withstand high temperatures and are suitable for applications where the homogenization process involves melting or high-temperature operations. They use mechanical components to measure pressure and are known for their durability and reliability.
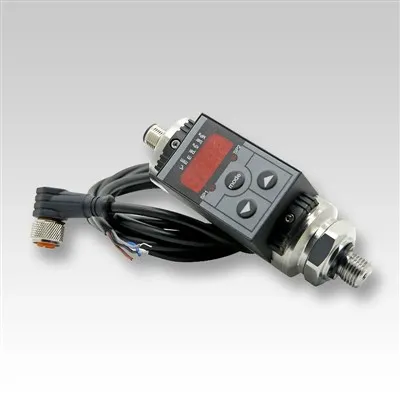
- Digital Melt Presssure Gauges: These gauges offer digital readouts, which provide more accurate and precise measurements compared to mechanical gauges. They are easy to read and can be configured to display pressure in different units. Digital gauges are also equipped with advanced features such as data logging and alarm functions, making them ideal for applications that require strict pressure control.
- Mechanical Presssure Gauge: These are the most traditional type of pressure gauges and use a mechanical mechanism, such as a Bourdon tube or a diaphragm, to measure pressure. They are simple, reliable, and cost-effective, making them a popular choice for many homogenization applications.
Steps to Adjust the Sensitivity of a Homogenizer Pressure Gauge
The adjustment process may vary depending on the type of pressure gauge you have. Here are the general steps to follow:
Step 1: Preparation
- Safety First: Before you start any adjustment, make sure the homogenizer is turned off and depressurized. Wear appropriate safety gear, such as gloves and safety glasses, to protect yourself from potential hazards.
- Gather Tools: You will need a set of calibration tools, such as a pressure calibrator, adjustment screwdriver, and a reference pressure source. Make sure the calibration tools are accurate and properly calibrated.
Step 2: Identify the Adjustment Mechanism
- Check the Manual: Refer to the manufacturer's manual for your pressure gauge to identify the adjustment mechanism. Different gauges may have different adjustment methods, so it's important to follow the instructions specific to your gauge.
- Locate the Adjustment Screw: In most mechanical pressure gauges, the adjustment screw is located on the back or side of the gauge. Digital gauges may have a calibration button or menu option that allows you to adjust the sensitivity.
Step 3: Zero the Gauge
- Connect the Calibrator: Connect the pressure calibrator to the pressure gauge using the appropriate fittings. Make sure the connection is tight and leak-free.
- Depressurize the System: Use the pressure calibrator to depressurize the system to zero pressure. Adjust the gauge until the pointer reads zero on the scale. This step ensures that the gauge is properly calibrated at zero pressure.
Step 4: Adjust the Sensitivity
- Apply Known Pressure: Use the pressure calibrator to apply a known pressure to the gauge. Start with a low pressure and gradually increase it to the maximum range of the gauge.
- Compare Readings: Compare the readings on the pressure gauge with the known pressure applied by the calibrator. If the gauge reading is different from the known pressure, adjust the sensitivity using the adjustment screw or calibration menu.
- Fine-Tune the Adjustment: Make small adjustments to the sensitivity and repeat the process of applying known pressure and comparing readings until the gauge readings match the known pressure within the desired accuracy range.
Step 5: Verify the Adjustment
- Perform Multiple Tests: After making the adjustment, perform multiple tests at different pressures to verify the accuracy of the gauge. Make sure the gauge readings are consistent and within the acceptable tolerance.
- Record the Results: Record the calibration results, including the date, time, pressure values, and any adjustments made. This documentation will help you track the performance of the gauge over time and ensure that it remains properly calibrated.
Tips for Maintaining the Sensitivity of Your Pressure Gauge
- Regular Calibration: Schedule regular calibration of your pressure gauge to ensure accurate and reliable measurements. The frequency of calibration will depend on the usage and application of the gauge, but it is generally recommended to calibrate the gauge at least once a year.
- Proper Installation: Make sure the pressure gauge is installed correctly and securely. Avoid over-tightening the fittings, as this can damage the gauge and affect its accuracy.
- Cleaning and Maintenance: Keep the pressure gauge clean and free from dirt, debris, and moisture. Regularly inspect the gauge for any signs of damage or wear, and replace any worn or damaged parts immediately.
- Avoid Overloading: Do not exceed the maximum pressure rating of the gauge. Overloading the gauge can cause permanent damage and affect its sensitivity.
Contact Us for Your Homogenizer Pressure Gauge Needs
At our company, we are committed to providing high-quality homogenizer pressure gauges and excellent customer service. Whether you need a new pressure gauge or assistance with adjusting the sensitivity of your existing gauge, our team of experts is here to help. We offer a wide range of pressure gauges, including High Temperature Mechanical Melt Presssure Gauges, Digital Melt Presssure Gauges, and Mechanical Presssure Gauge, to meet the diverse needs of our customers.
If you have any questions or would like to discuss your specific requirements, please feel free to contact us. We look forward to the opportunity to serve you and help you achieve optimal performance from your homogenization equipment.


References
- Manufacturer's manuals for homogenizer pressure gauges
- Industry standards and guidelines for pressure gauge calibration and adjustment
- Textbooks and technical resources on pressure measurement and homogenization processes