
How to configure a Compact Pressure Transmitter for different pressure ranges?
Leave a message

Hey there! I'm a supplier of Compact Pressure Transmitters, and today I'm gonna walk you through how to configure these nifty devices for different pressure ranges.
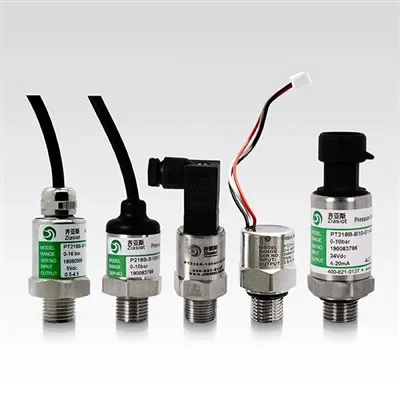
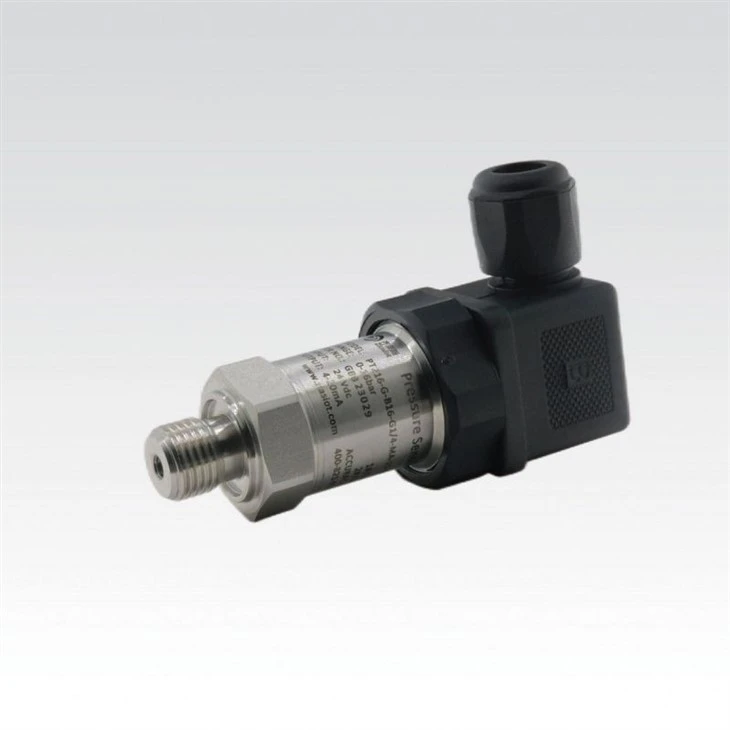
First off, let's talk a bit about Compact Pressure Transmitters. These bad boys are compact in size but pack a punch when it comes to getting accurate pressure readings. If you're interested in learning more about them, you can check out this link: Compact Pressure Transmitter. They're widely used in many industries, from manufacturing to oil and gas, because they're reliable and easy to install.
Before you start the configuration process, it's super important to understand the pressure range you're working with. Pressure ranges can vary greatly depending on the application. For example, in a simple water - level monitoring system, the pressure range might be relatively low. But in an industrial hydraulic system, the pressures can be extremely high. So, you need to have a clear idea of what pressure values you expect the transmitter to measure.
Once you've got your pressure range figured out, the next step is to set the zero and span of your Compact Pressure Transmitter. The zero setting is the output of the transmitter when there's no pressure applied. And the span is the difference between the minimum and maximum pressure values that the transmitter can measure. Most Compact Pressure Transmitters have calibration buttons or a digital interface that makes this process pretty straightforward.
Let's dig a bit deeper into the zero adjustment. To set the zero, you need to make sure that there's truly no pressure on the transmitter. Close all the valves and make sure the system is at rest. Then, use the calibration tool (either physical buttons or through the digital interface) to adjust the output to the minimum value (usually 4 mA if it's a standard 4 - 20 mA output). This step is crucial because an incorrect zero setting can throw off all your subsequent readings.
Now, for the span adjustment. Apply the maximum pressure within your desired range to the transmitter. This could be done by using a calibrated pressure source or by operating the system at its peak pressure. Once the maximum pressure is applied, use the calibration tool again to adjust the output to the maximum value (20 mA for a 4 - 20 mA output). This way, the transmitter is now calibrated to accurately measure pressures within your specified range.
It's also a good idea to double - check your calibration. Take some intermediate pressure readings and compare them with a known accurate pressure gauge. If there are any discrepancies, you may need to fine - tune the zero or span settings.
In some cases, you might be dealing with different types of pressure, such as gauge pressure, absolute pressure, or differential pressure. Gauge pressure is measured relative to atmospheric pressure, absolute pressure includes atmospheric pressure, and differential pressure is the difference between two pressures. Your Compact Pressure Transmitter should be configured according to the type of pressure you're measuring. Make sure to select the appropriate pressure type in the transmitter's settings.
Let's say you're working on a project where you need to measure the differential pressure across a filter. You'd want to connect the high - pressure port of the transmitter to the upstream side of the filter and the low - pressure port to the downstream side. And then configure the transmitter to measure differential pressure.
Another important aspect is the output signal of the transmitter. Most Compact Pressure Transmitters offer a variety of output signals, such as 4 - 20 mA, 0 - 5 V, or 0 - 10 V. The choice of output signal depends on your control system or the device that will receive the signal. If your control system is designed to work with a 4 - 20 mA signal, you'll need to configure the transmitter to output in that range.
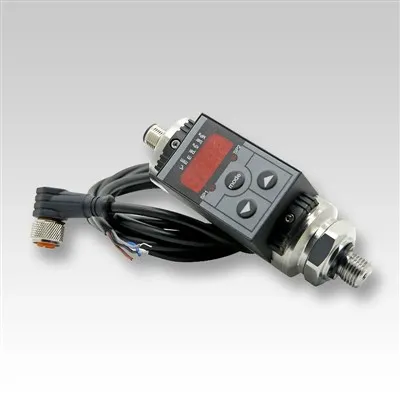
Some Compact Pressure Transmitters also have advanced features like integrated pressure indicators. If you're interested in this kind of functionality, you can check out the Pressure Indicator Transmitter. These indicators can give you a direct visual reading of the pressure, which is handy for on - site monitoring.
If you're working in a hazardous environment, you might need an intrinsically safe device. We've got Intrinsically Safe Pressure Transmitter options that are designed to operate safely in explosive atmospheres.
Now, a quick word about maintenance. After configuring your Compact Pressure Transmitter, it's important to perform regular maintenance checks. This includes checking the electrical connections for any signs of corrosion or loose wires, and verifying the calibration periodically. Over time, factors like temperature changes and mechanical vibrations can affect the accuracy of the transmitter.
So, there you have it! A step - by - step guide on how to configure a Compact Pressure Transmitter for different pressure ranges. Whether you're a newbie in the field or a seasoned pro, I hope this information helps you get the most accurate pressure measurements possible.

If you're looking to purchase Compact Pressure Transmitters or have any questions about configuration, feel free to reach out. We'd be more than happy to assist you in finding the right product for your needs and guiding you through the configuration process.
References
- Industrial Pressure Measurement Handbook
- Pressure Transmitter User Manuals