How to install a melt temperature transmitter in a hazardous area?
Leave a message
Installing a melt temperature transmitter in a hazardous area isn't a walk in the park. But don't worry, as a supplier of melt temperature transmitters, I've got the know - how to guide you through this process.
Understanding the Hazardous Area
First things first, we need to understand what a hazardous area is. Hazardous areas are places where there's a risk of explosion due to the presence of flammable gases, vapors, dust, or fibers. These areas are classified based on the likelihood and duration of the explosive atmosphere. For instance, Zone 0 is an area where an explosive gas atmosphere is present continuously or for long periods, while Zone 2 is an area where an explosive gas atmosphere is not likely to occur in normal operation and, if it occurs, will exist only for a short time.
It's crucial to know the classification of the hazardous area where you'll be installing the melt temperature transmitter. This knowledge will help you choose the right type of transmitter that meets the safety requirements for that particular zone.
Choosing the Right Melt Temperature Transmitter
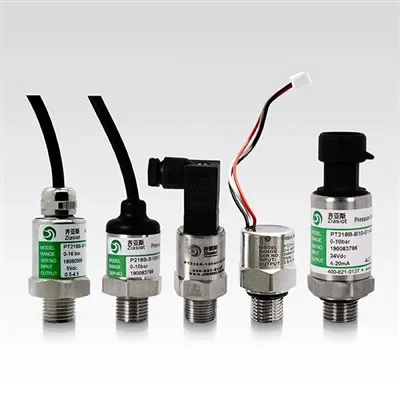
When it comes to hazardous areas, not all melt temperature transmitters are created equal. You need a transmitter that's designed to operate safely in these conditions. Our Integrated Melt Temperature Transmitter is a great option. It's built with safety features that make it suitable for use in various hazardous areas.
This transmitter is designed to prevent the ignition of the surrounding explosive atmosphere. It uses intrinsic safety techniques, which means that the electrical energy in the circuit is limited to a level that's too low to cause an explosion. Additionally, it's constructed with materials that can withstand the harsh conditions often found in hazardous areas.
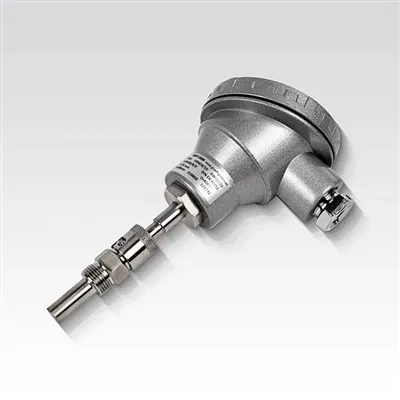
Another option is our Melt Temperature Sensor for Extrusion. This sensor is specifically designed for extrusion processes and can also be used in hazardous areas. It provides accurate temperature measurements, which are essential for maintaining the quality of the extrusion process.
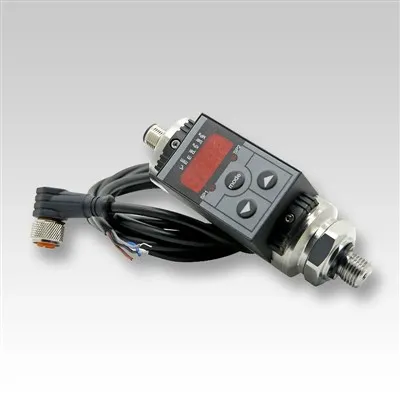
If you're dealing with an extruder in a hazardous area, our Extruder Melt Temperature Transmitter is the way to go. It's optimized for use with extruders and can handle the high - temperature and high - pressure conditions typically associated with extrusion operations.
Pre - installation Checks
Before you start installing the melt temperature transmitter, there are a few checks you need to do. First, make sure that the area is properly de - energized. You don't want any electrical currents flowing while you're working on the installation. This reduces the risk of electrical shock and also minimizes the chance of igniting any explosive gases.
Next, inspect the transmitter for any visible damage. Check the housing, cables, and connectors to ensure that they're in good condition. If you notice any cracks, breaks, or other signs of damage, don't use the transmitter. Instead, contact us for a replacement.
You also need to verify that the mounting location is suitable. The location should be close to the area where you need to measure the melt temperature, but it should also be accessible for maintenance and calibration. Make sure that there are no obstructions that could interfere with the installation or operation of the transmitter.
Installation Process
Mounting the Transmitter
The first step in the installation process is to mount the melt temperature transmitter. Most transmitters come with mounting brackets or flanges that make it easy to attach them to the equipment. Make sure that the mounting surface is flat and clean. Use the appropriate fasteners to secure the transmitter firmly in place.
If you're mounting the transmitter in a vertical position, ensure that it's level. This will help to ensure accurate temperature measurements. If the transmitter is mounted at an angle, it could affect the performance of the sensor.
Connecting the Cables
Once the transmitter is mounted, it's time to connect the cables. You'll typically have a power cable and a signal cable. Make sure that you follow the wiring diagram provided with the transmitter. Incorrect wiring can not only cause the transmitter to malfunction but also pose a safety hazard.
Use proper cable glands to seal the cables where they enter the transmitter housing. This helps to prevent the ingress of dust, moisture, and explosive gases. Tighten the cable glands securely to ensure a good seal.
Grounding the Transmitter
Grounding is an important safety measure when installing a melt temperature transmitter in a hazardous area. Connect the grounding wire of the transmitter to a suitable ground point. This helps to protect against electrical faults and reduces the risk of electrostatic discharge, which could potentially ignite an explosive atmosphere.


Post - installation Checks
After the installation is complete, it's important to perform a series of checks to ensure that the transmitter is working properly. First, power on the transmitter and check for any error messages on the display. If there are any error messages, refer to the user manual for troubleshooting steps.
Next, take a temperature reading. Compare the reading with a known reference temperature to verify the accuracy of the transmitter. If the reading is significantly different from the reference temperature, you may need to calibrate the transmitter.
Inspect the installation again to make sure that all the connections are secure and that there are no signs of damage or wear. Check the cable glands to ensure that they're still providing a good seal.
Maintenance and Calibration
Regular maintenance and calibration are essential for the proper operation of a melt temperature transmitter in a hazardous area. Set up a maintenance schedule to inspect the transmitter for any signs of damage or wear. Check the cables, connectors, and mounting hardware regularly.
Calibration should be performed at least once a year, or more frequently if required by the application. Calibration ensures that the transmitter is providing accurate temperature measurements. You can use a calibration device to adjust the transmitter settings to match a known reference temperature.
Conclusion
Installing a melt temperature transmitter in a hazardous area is a complex but manageable task. By choosing the right transmitter, performing pre - installation checks, following the correct installation process, and conducting post - installation checks, you can ensure a safe and reliable installation.
If you're in the market for a melt temperature transmitter for a hazardous area, we're here to help. Our team of experts can assist you in choosing the right product for your specific needs and provide you with support throughout the installation and maintenance process. If you have any questions or are interested in purchasing our products, don't hesitate to contact us for a procurement discussion.
References
- General industry standards for hazardous area equipment installation
- Manufacturer's user manuals for melt temperature transmitters